Scanning your Home Lab with Nessus
In this blog post, I will explain how to perform a basic scan of your Home Lab using Nessus vulnerability scanner. If you didn’t setup your Nessus Scanner yet, have a look into this blog post.
We initiate a new scan by clicking on New Scan:

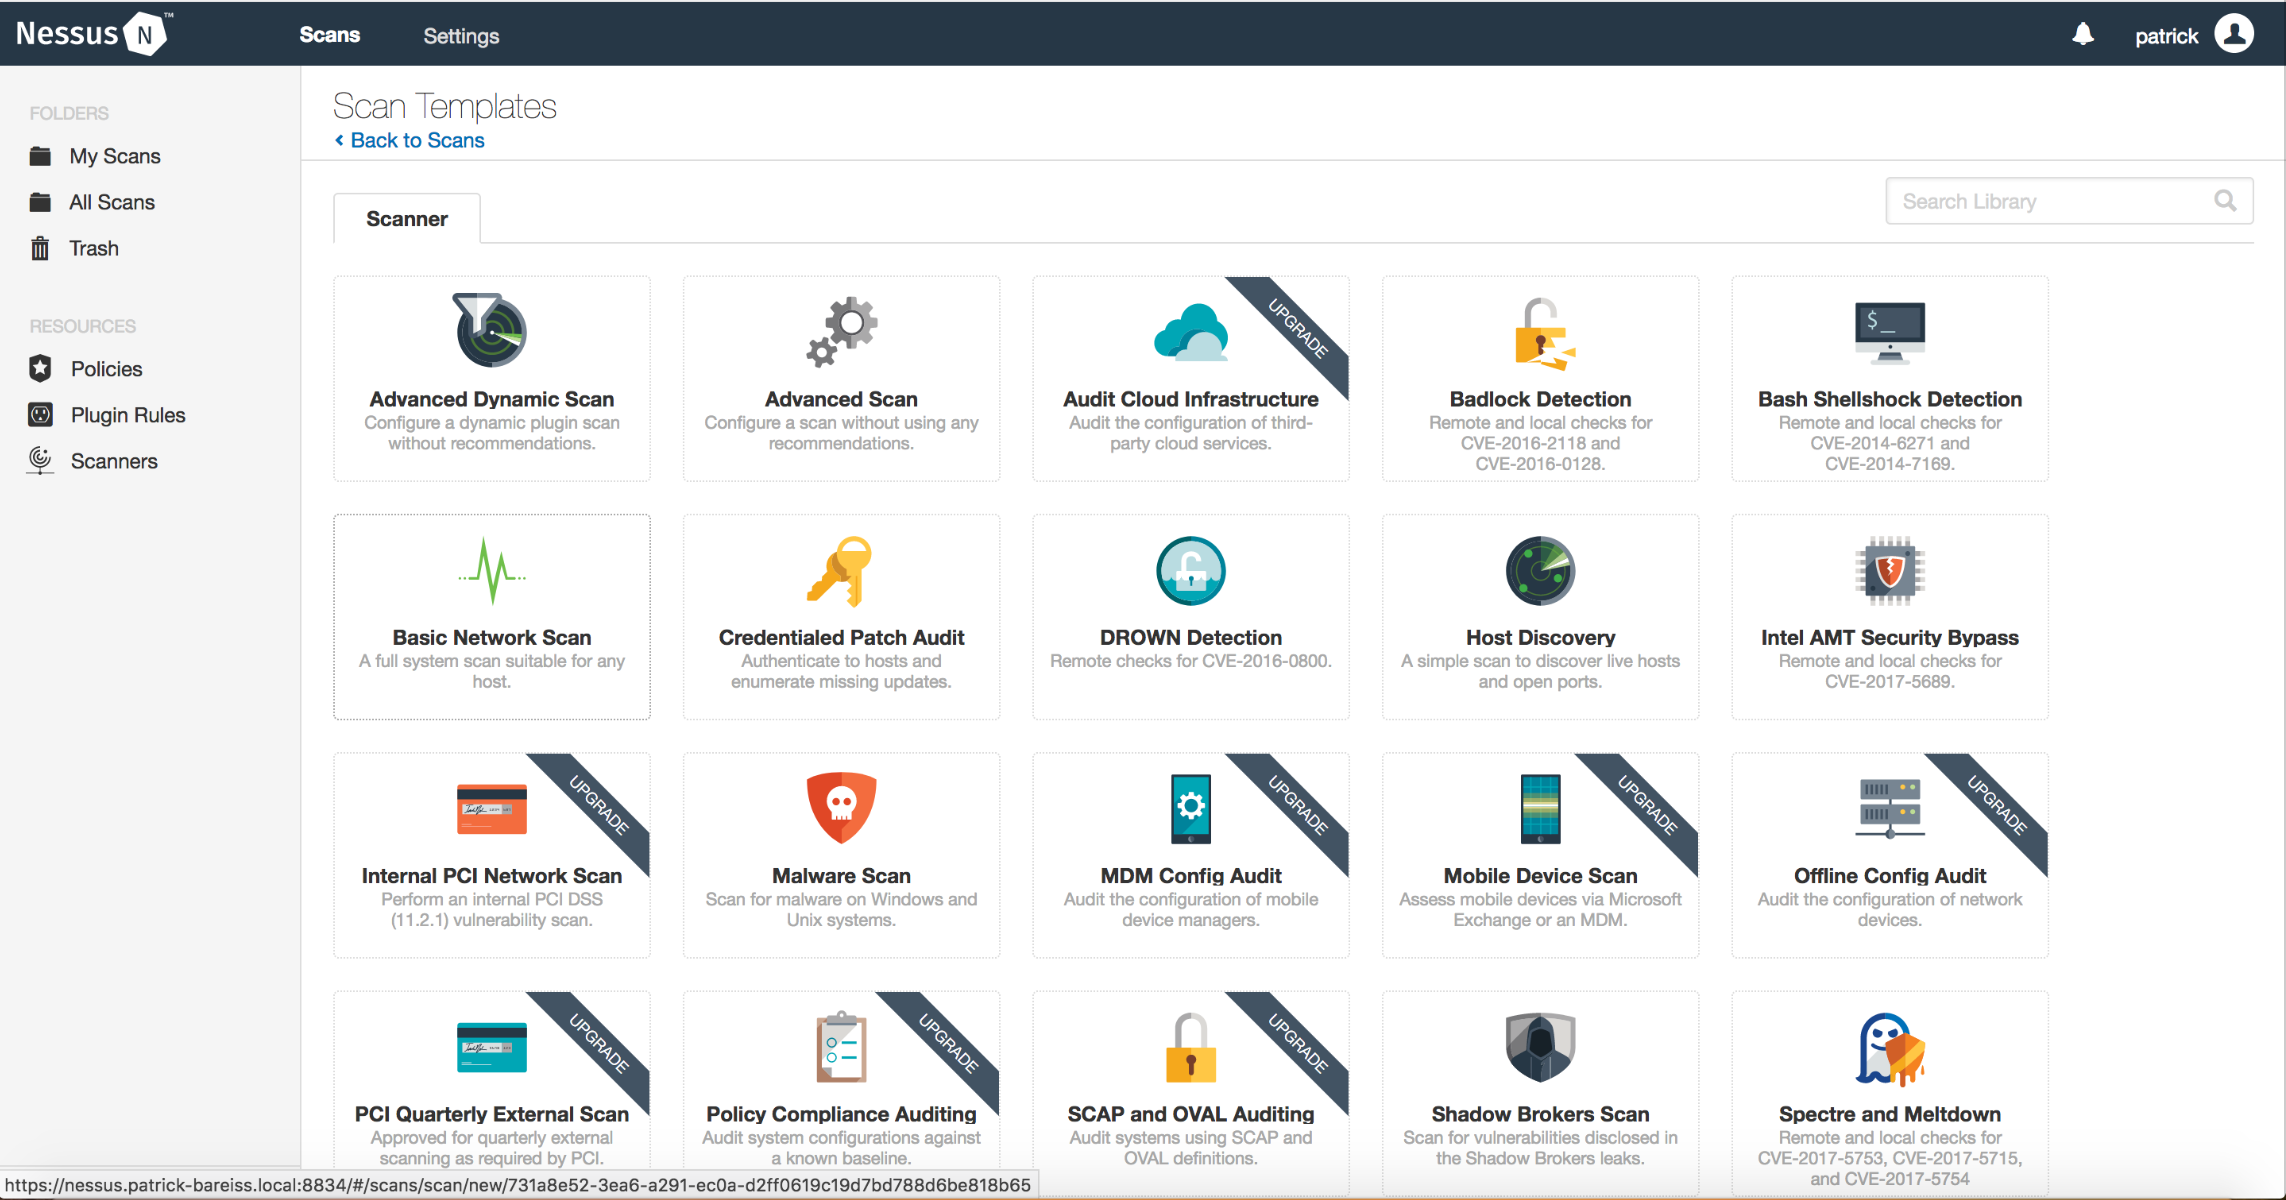
In this blog post, we choose Basic Network Scan:
We assign a Name and a short Description to the new scan. The folder, in which the scan is stored, can be chosen. The targets can be defined either as single hosts or by defining a whole network as we dit it:

Then we click on Schedule and configure a weekly schedule of this scan:

After that, we configure the Discovery part. Instead of scanning only the common port (default), we will scan all ports by choosing Port scan (all ports):

In the assessment part, we choose Scan for known web vulnerabilities:

We keep the default settings in the report part

In advanced, we keep the default settings. If you have not that much trust in your network, you can choose Scan low bandwidth links, but we keep the Default value:

After your scan job is finished, you can review the results:

Thank you for reading. In a future blog post, I will explain how to use that data in Splunk.
I抦 not that much of a online reader to be honest but your blogs really nice, keep it up! I’ll go ahead and bookmark your site to come back later. All the best